
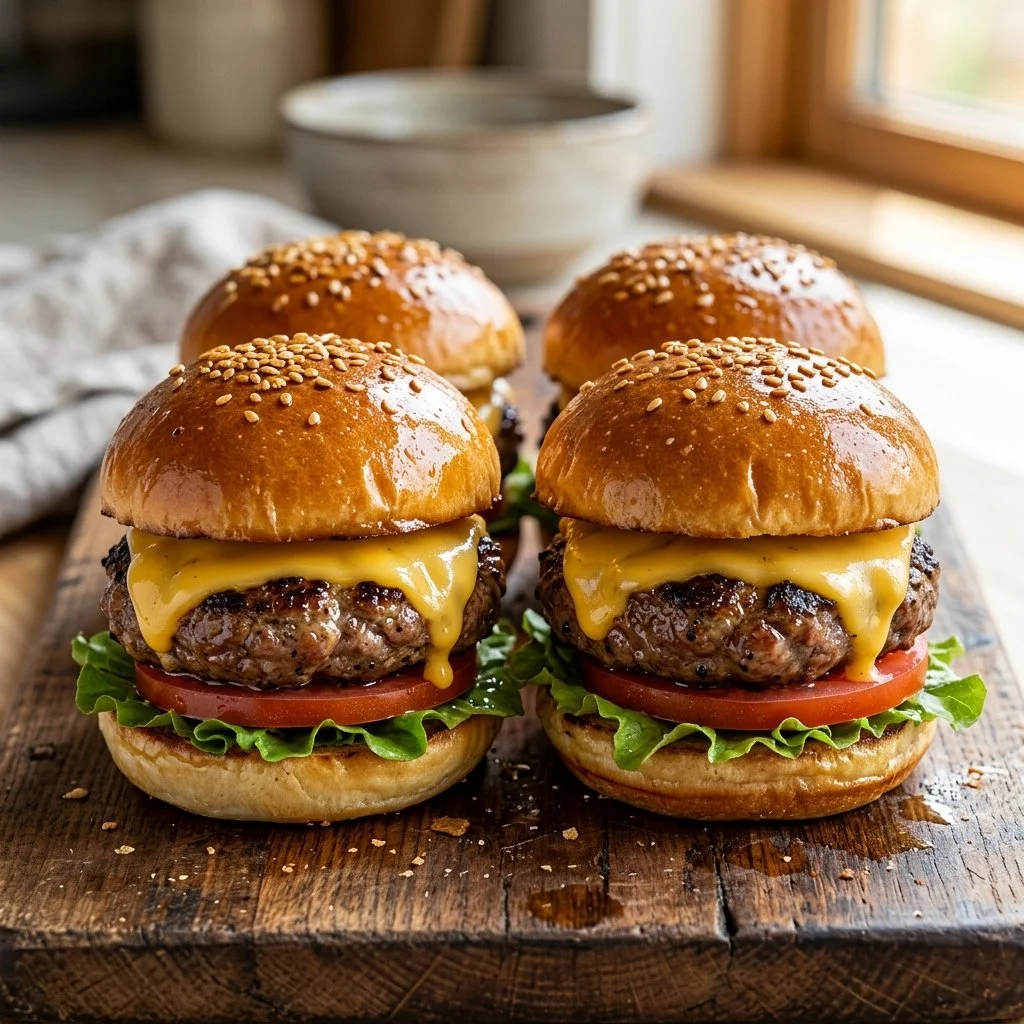
The sun was setting just beyond the backyard fence, casting a golden glow over the grill as I prepared for an evening of fun and delicious bites with family. It was one of those warm weekends where the tantalizing aroma of burgers sizzling on the grill beckoned everyone outside. And what better way to evoke smiles and laughter than with Cheeseburger Sliders? These tiny, juicy morsels are not just food but a gateway to fond memories and shared moments over summer gatherings.
Recipe Timing
- Prep Duration: 10 minutes
- Active Cooking: 10 minutes
- Total Duration: 20 minutes
- Portion Size: Serves 4 (2 sliders each)
- Complexity: Simple
Nutritional Recipe
- Calories per portion: Approximately 350
- Protein: 22 grams per serving
- Carbs: 24 grams per serving
- Fats: 23 grams per serving
- Fiber: 1 gram per serving
- Sugars: 2 grams per serving
- Sodium: 600 mg per serving
Why You’ll Love This Cheeseburger Sliders
These Cheeseburger Sliders are the epitome of comfort food. Bursting with flavor from the seasoned beef and warmly melted cheddar, they’re perfect for gatherings or casual family dinners. Their bite-sized nature makes them fun to eat, and the customizable toppings mean each person can create their ultimate slider masterpiece. Plus, they’re so easy to whip up that you’ll find yourself wanting to make them again and again.
The Complete Cooking Journey
Imagine the sound of the grill sizzling, the smell of savory beef mingling with melting cheese—this is not just cooking; it’s an experience. With each step, you’ll feel the excitement grow as simple ingredients transform into a crowd-pleasing feast. Let’s embark on this delicious journey together.
Ingredients:
- 1 lb ground beef
- 1 tsp garlic powder
- 1 tsp onion powder
- Salt and pepper to taste
- 8 slices of cheddar cheese
- Slider buns
- Pickles (optional)
- Mustard and ketchup (optional)
Method:
Step 1: Preheat Your Grilling Station
Preheat the grill or a skillet over medium heat. The key to juicy burgers is a well-heated cooking surface that seals in the flavor and moisture of the beef.
Step 2: Season the Ground Beef
In a bowl, mix the ground beef with garlic powder, onion powder, salt, and pepper. Combining these ingredients ensures that every bite of your slider is packed with flavor.
Step 3: Form the Perfect Patties
Form the mixture into small patties that will fit on the slider buns. Try to make them about 2 inches in diameter, which is the perfect size for a satisfying bite.
Step 4: Cook the Patties
Cook the patties on the grill or skillet for about 3-4 minutes on each side, or until cooked to your desired doneness. Don’t forget to resist the urge to press down on the patties – that’s where juiciness lies!
Step 5: Melt the Cheese
During the last minute of cooking, place a slice of cheddar cheese on each patty to melt. Watching that cheese ooze over the sides is a sight that will have everyone drooling.
Step 6: Toast the Slider Buns
Toast the slider buns on the grill or skillet. A crispy exterior will add a delightful crunch, elevating the overall slider experience.
Step 7: Assemble the Sliders
Assemble the sliders by placing a patty on each bun and adding pickles, mustard, and ketchup as desired. This is your chance to get creative with toppings!
Step 8: Serve Warm
Serve warm and watch as everyone gathers around, eager to take their first bite of these flavorful sliders.
Serving Suggestions & Pairings
These Cheeseburger Sliders pair wonderfully with crispy sweet potato fries, garden salad, or even a refreshing coleslaw. For beverages, consider serving with homemade lemonade or a chilled craft beer for an adult twist.
Storage & Leftovers Guide
If you happen to have leftovers (though they’re unlikely!), store the patties in an airtight container in the fridge for up to 3 days. Reheat in the microwave or skillet. However, I recommend making a fresh batch to relive that magical experience!
Kitchen Wisdom & Success Tips
- Ensure your ground beef is at room temperature before cooking for even cooking results.
- For added flavor, consider incorporating Worcestershire sauce into the beef mixture.
- If you prefer your sliders thicker, adjust the cooking time slightly but always ensure they reach a safe internal temperature.
Flavor Variations & Adaptations
Feeling adventurous? Try swapping out the cheddar for pepper jack for a spicy kick, or mix in crumbled blue cheese for a gourmet twist. You could also make the patties smaller for mini appetizers at parties!
Reader Questions & Solutions
- Can I use turkey or chicken instead of beef? Absolutely! Be sure to adjust the cooking time, as poultry generally takes less time to cook.
- What if I don’t have slider buns? No worries! You can use regular-sized hamburger buns or even lettuce wraps for a low-carb option.
- Can I make these sliders in advance? Yes, you can form the patties ahead of time and store them in the fridge. Cook them just before serving.
- How do I make them gluten-free? Use gluten-free buns and ensure that your seasoning does not contain gluten.
- What are some other topping ideas? Consider adding sautéed onions, bacon, avocado slices, or even jalapeños for extra flavor and texture.
Wrapping Up
Cheeseburger Sliders are more than just a meal; they’re an invitation to gather around the grill, share stories, and create lasting memories. So gather your loved ones, fire up the grill, and get ready for a delicious experience that will leave everyone smiling. Happy cooking!